Reclaiming Garments for Fabric (a tutorial)
Reclaiming garments for fabric is a fancy way of saying that you are taking them apart. That’s all reclaiming is really- the fussy and time consuming act of removing the seams and pressing a three dimensional, body formed, garment back into a collection of 2D pieces. In this example I’m taking apart a chambray shirt that is 100% cotton (thank you Hailey!).
The first step is getting to know the garment you’re working with. Give it a cursory once over, note the seams and its construction. Pay attention to spots of wear and secondary seams like tucks or pleats that might require extra attention. Read the tags- where was it made? What is it made of? Gather your tools- I like to use a larger pair of sewing scissors for cutting through multiple layers of fabric, and a pair of nail scissors for snipping tiny seams. A seam ripper works well too if you have a sharp one that you are comfortable wielding. Remove any buttons/beads/badges/etc. You can also remove any outside pockets- but I like to save that for the end because it’s so satisfying.
When I am reclaiming fabric I am constantly balancing time with yield. A rule I’ve made for myself is that my gleanings must be larger than 2”x2” to be worthy of my time. So I start by hacking off the collar if there is one- that strip of fabric that sits at the neck isn’t large enough to be usable. Then I cut off the buttonhole side of the button band, as it won’t yield enough to be worth my time (due to button holes). Check the other side of your button band- often it is a continuation of the shirt front folded over, but if it is not it can be removed. This can apply to cuffs as well, depending on the style of the shirt. If the collar and cuffs are large enough I will save them to take apart later for small gleanings. While they may look like a tiny fortune of fabric, most modern garments have non-removable interfacing in the cuffs and collars, so you will only get half of the fabric you see (unless you chose to use fabric with interfacing attached in your projects- which you can, I just prefer not to). Cut as close to the seams as you can. If the garment I am working with has curved or rolled hems I will also cut them off, as they won’t yield enough usable fabric to be worth the time. (Note: if I am working with something really special I will go in and unpick all of the seams instead of cutting off the cuffs and collars. It’s a judgement call!)
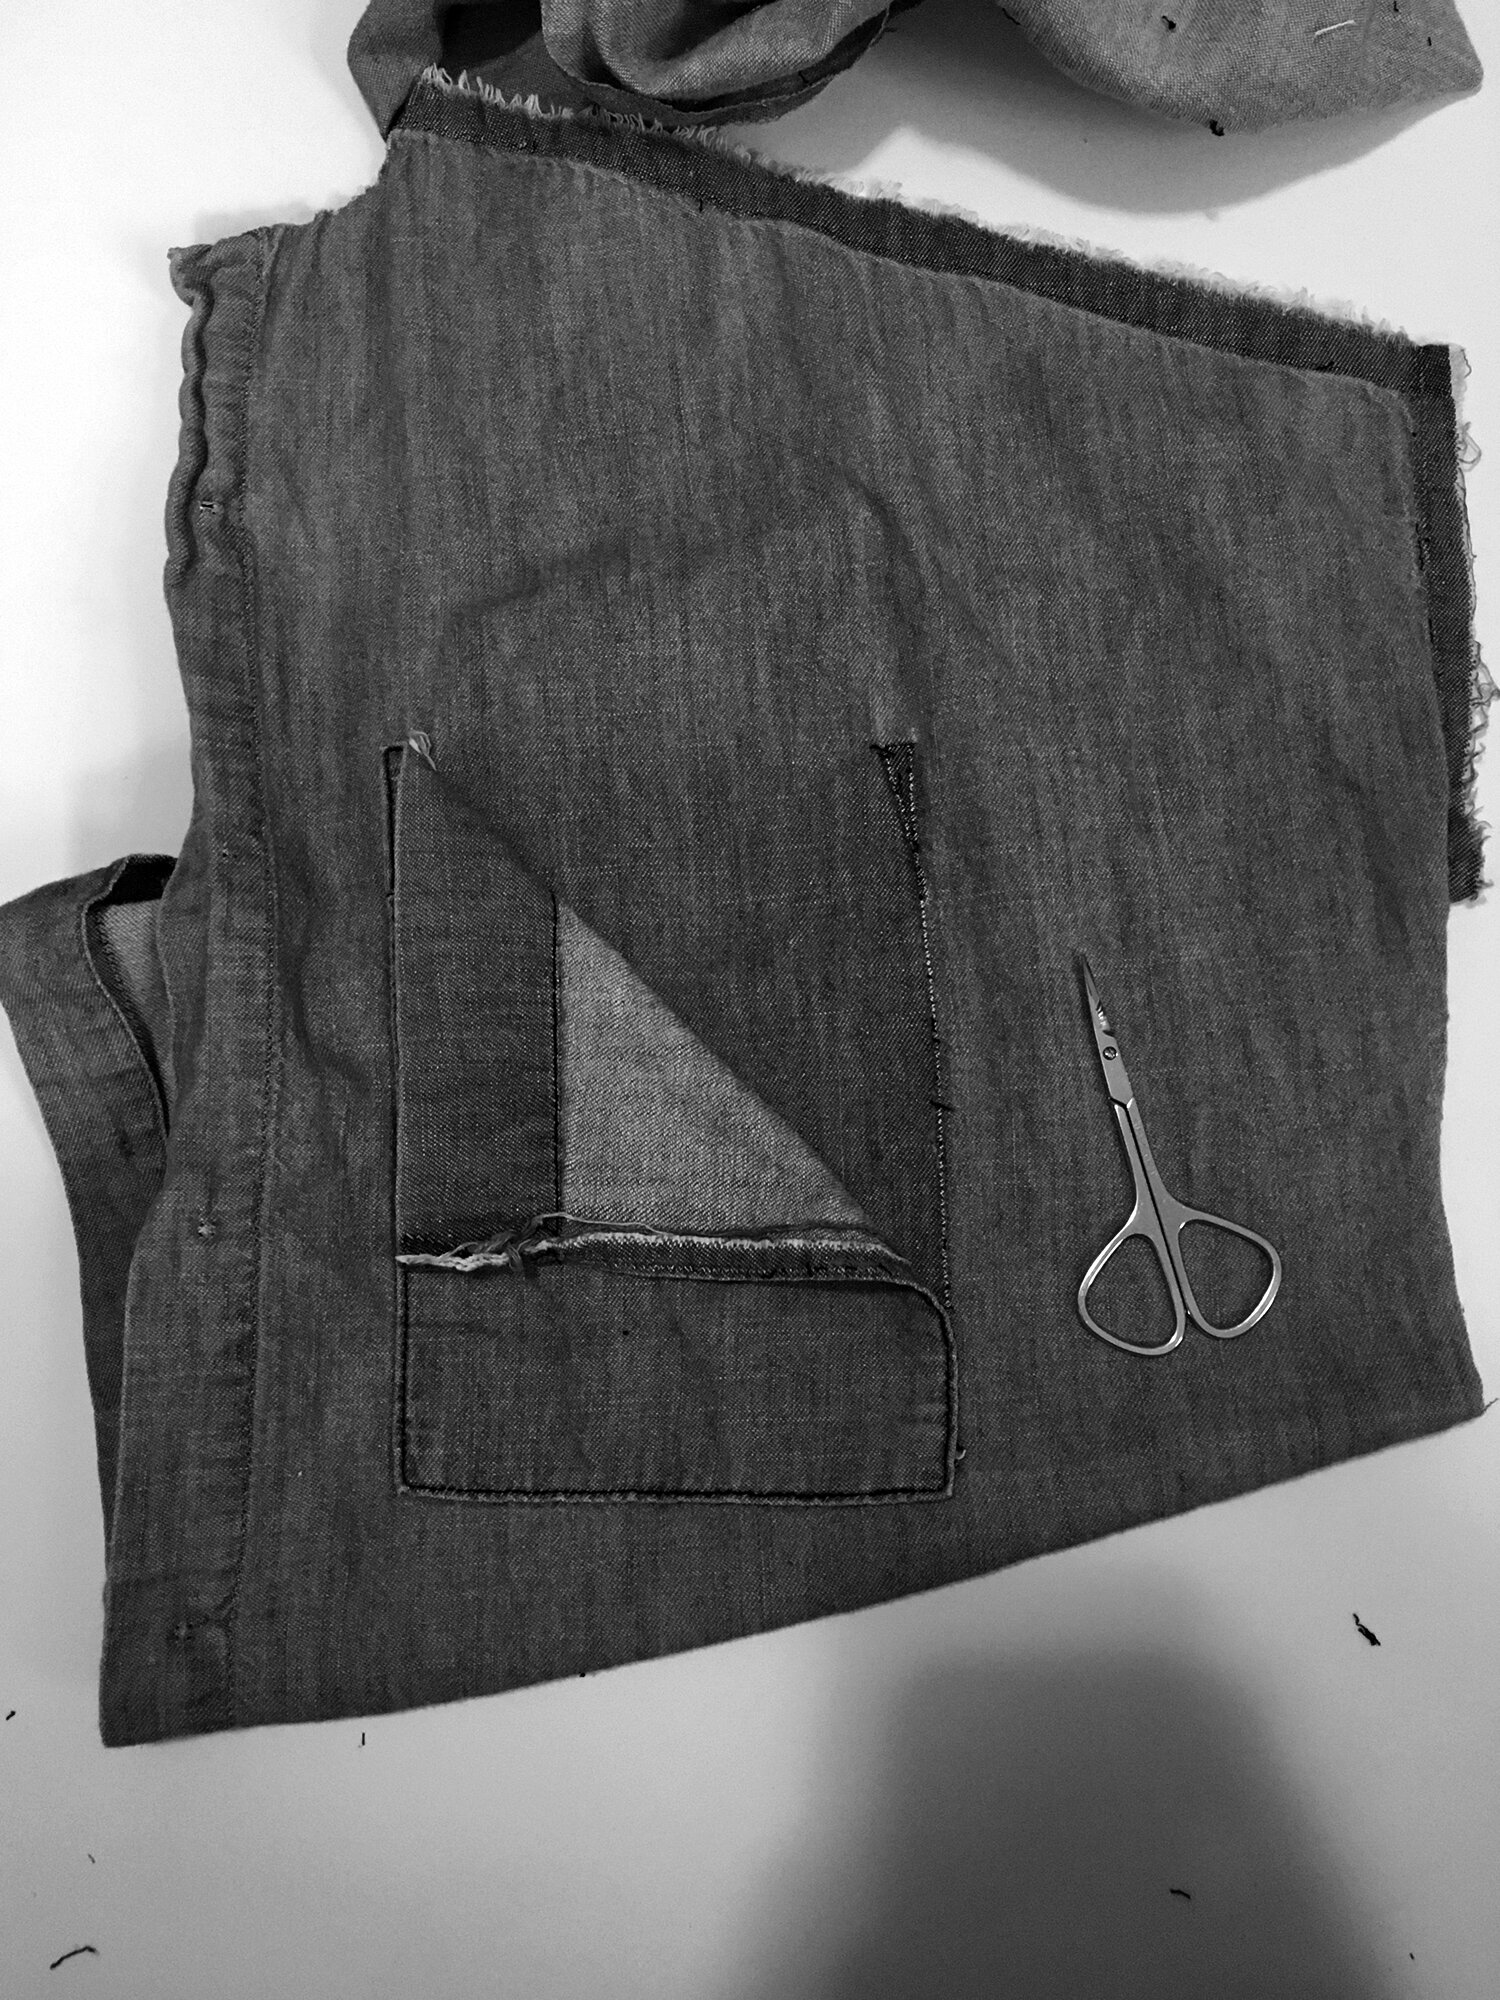
With the cuffs and collar (and maybe hems) removed a lot of seams will now be accessible, so the next step is to unpick them. This is the slow part- for this one shirt it took about an hour and 45 minutes. Find good lighting, get comfortable and use your nail scissors or seam ripper to start snipping stitches. I like to start in at one end of a seam and work myself across, snipping every 5th stitch or so and gently pulling the seam apart. Take your time and pay attention to how the garment is constructed- is there another row of stitches hidden in the seam? Try not to cut any holes in your fabric or yank so hard that the edges fray.
By now you probably have a huge mess on your hands. Once all of the pieces are separated it is time to clean up- which means methodically pulling all of the millimeter shards of thread out of your new fabric. Tweezers can help, as can a stiff brush. This is when I like to remove pockets and unpick bust darts- it’s like a little reward.
Once all of the seams are unpicked and the threads cleaned up I will sort my fabric yield into piles- large pieces for quilts, small odd pieces for patchwork, buttons for… ??? (seriously, let me know if you need boring ass mass produced buttons ever and I’ll start saving them for you!) and thread and unusable bits for the landfill. (Note: the tags from your garment will hopefully tell you what the thread is made of. If your whole garment is made of natural fibers you can bury the scraps/thread in the garden or put it in the bottom of flower pots. This garment had polyester thread and pockets, so I won’t be composting them.)


